I am a purist. I like doing my binding the old fashioned way. I make up the binding and then I sew it on the front and press it to the back and then I hand stitch it down.
Years ago I saw Eleanor Burns show how to do binding by machine. Yes, I tried it. And guess what.....I hated how it came out. It wasn't a bad plan, I was just really bad at implementing it. I did up my binding the usual way and then I sewed it on the back (yes, the back) and pressed it to the front and then I top-stitched it down really close to the edge. My stitches were not straight and I was trying so hard to stay close to the edge that sometimes I fell off the edge totally. So then I thought that I should not try so hard to be close to the edge, but then it looked more like a flange. I just really hated how it came out. With a bit of practice, I could probably have been good at it, but I wasn't willing to sacrifice the time and practice and more importantly the quilts it would take to get better.
Recently I heard somebody talking about faux piping binding. Never heard of it before. Never even seen it done. But figured I could work something out. I love a challenge and I just knew that I could do this.
I did some figuring and I did my very first faux piping binding today. Guess what. First time and I was making it up as I went a long and I still liked it when it was done. This may be my new favorite way to do binding in a hurry. And it looks kind of special too.
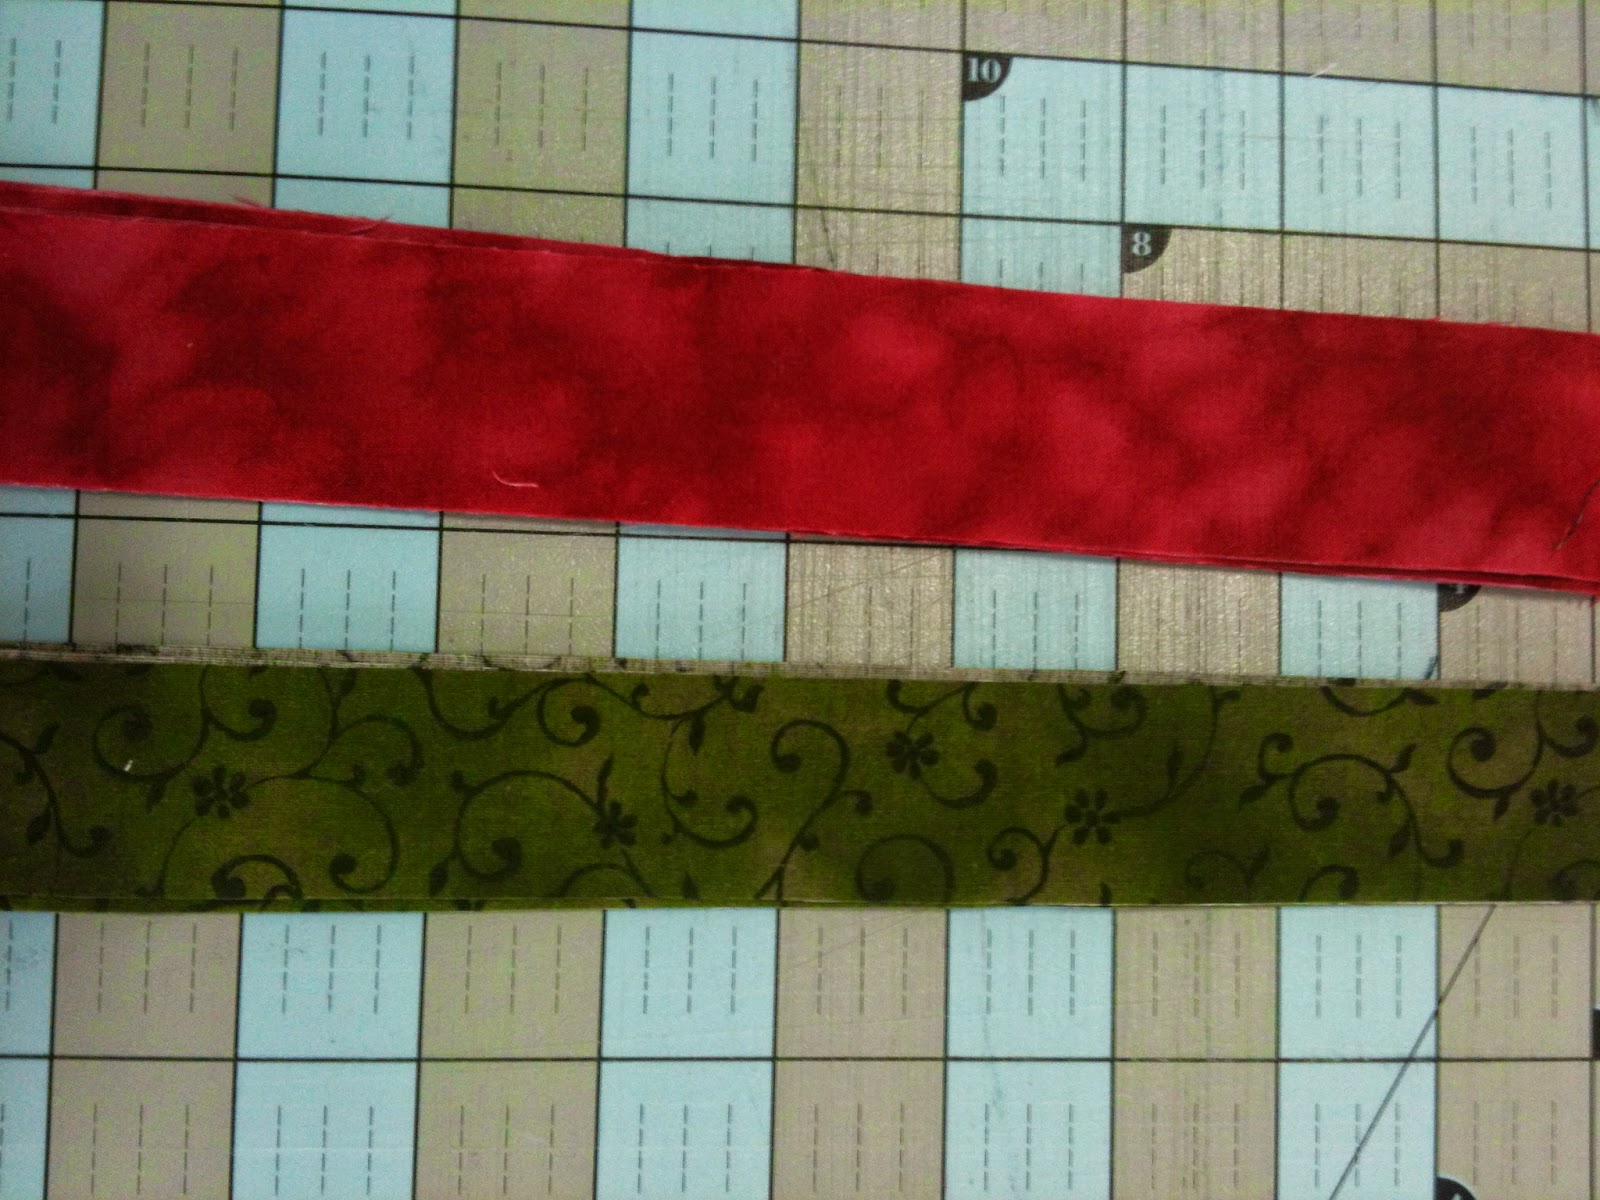
I usually do 2 1/4" binding or sometimes even 2 1/8" binding. For today's purposes, I did 2 1/4" binding. I started out with two different fabrics -- one for the binding itself and one for the faux piping. I cut the binding fabric 1 1/4" and I cut the piping fabric 1 1/2" inches. Yes, the piping fabric is cut 1/4 inch bigger than the binding fabric. You'll see.
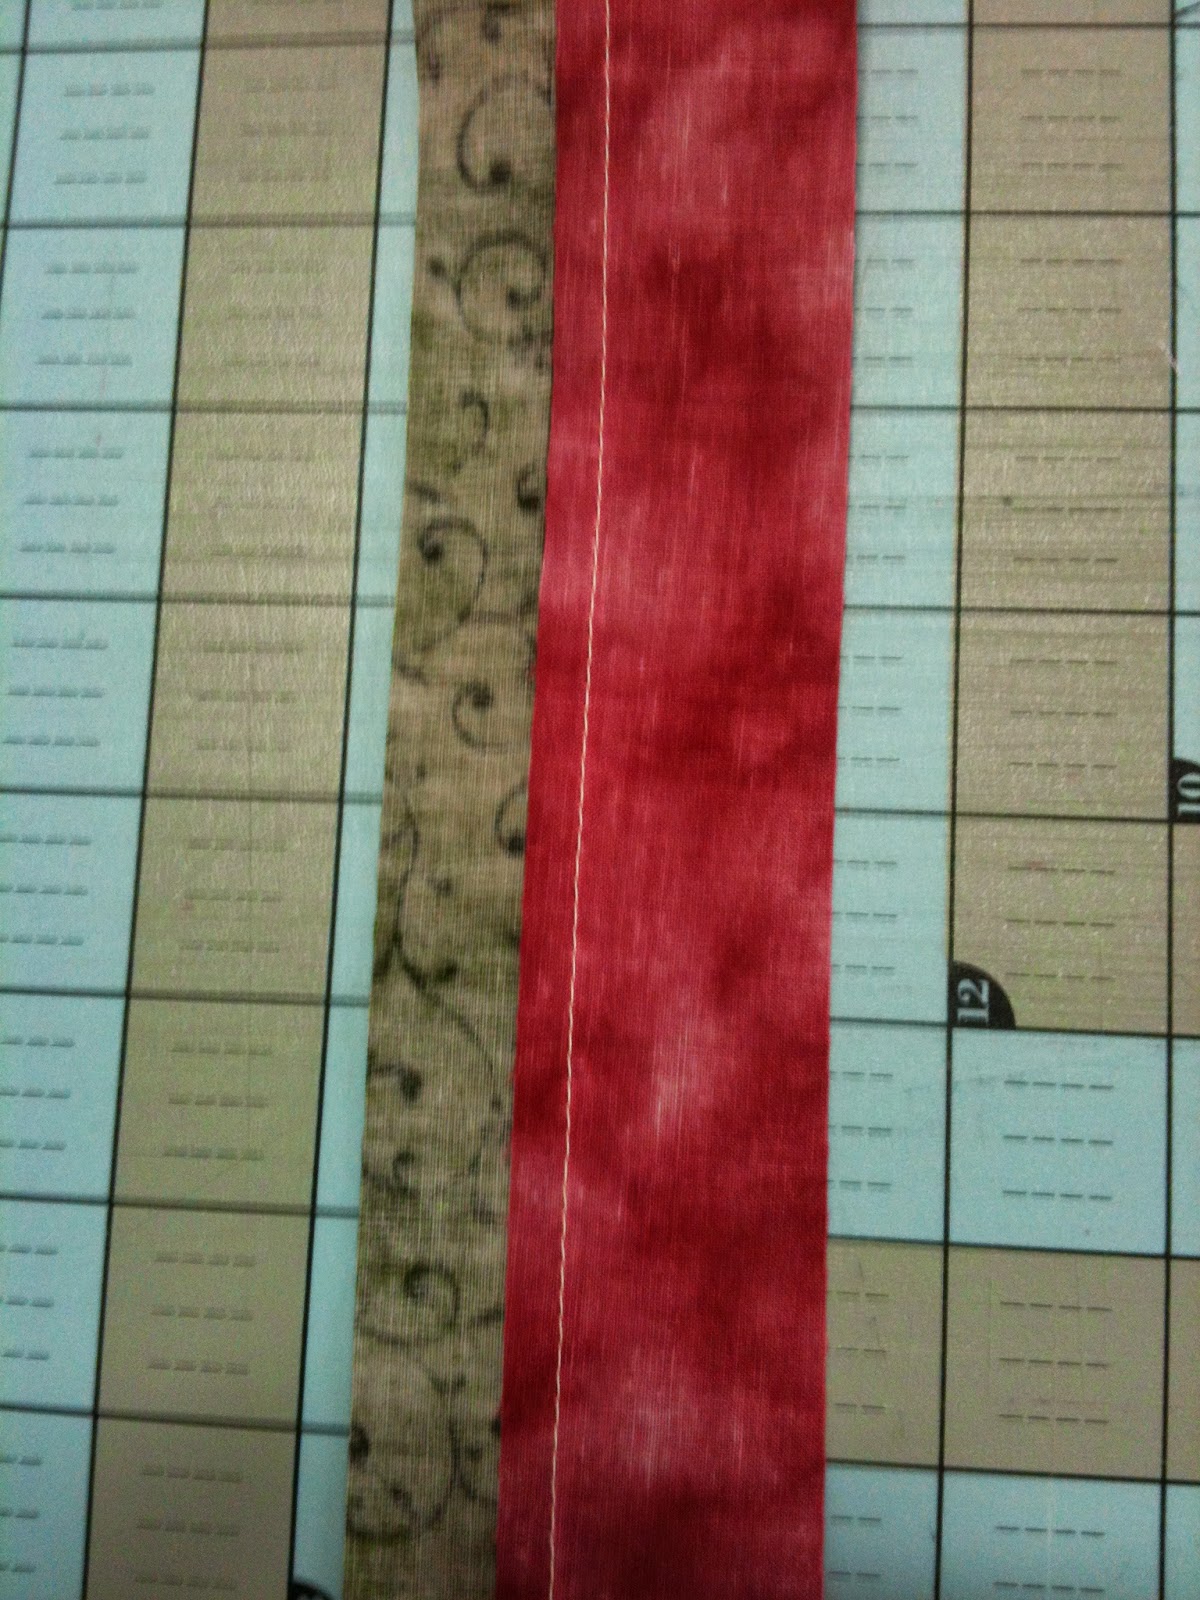
Sew your strips together into long streamers of whatever size you need and then sew the two strips together using a 1/4 inch seam. Now press the seam toward the binding fabric side (the smaller piece). You do not want to have all that bulk in the middle when you go to fold it in half.
Now fold it in half and press it. The piping fabric will show about 1/8 on the binding fabric side. This will be your faux piping.
Sew the binding onto the BACK side of your quilt (Yep, on the back) with the piping fabric facing up.
Once sewn on, then press away from the quilt. Then turn your quilt right side up and fold the binding to the front and press down there as well. I find it helpful to pin the corners in place when I get them just perfect.
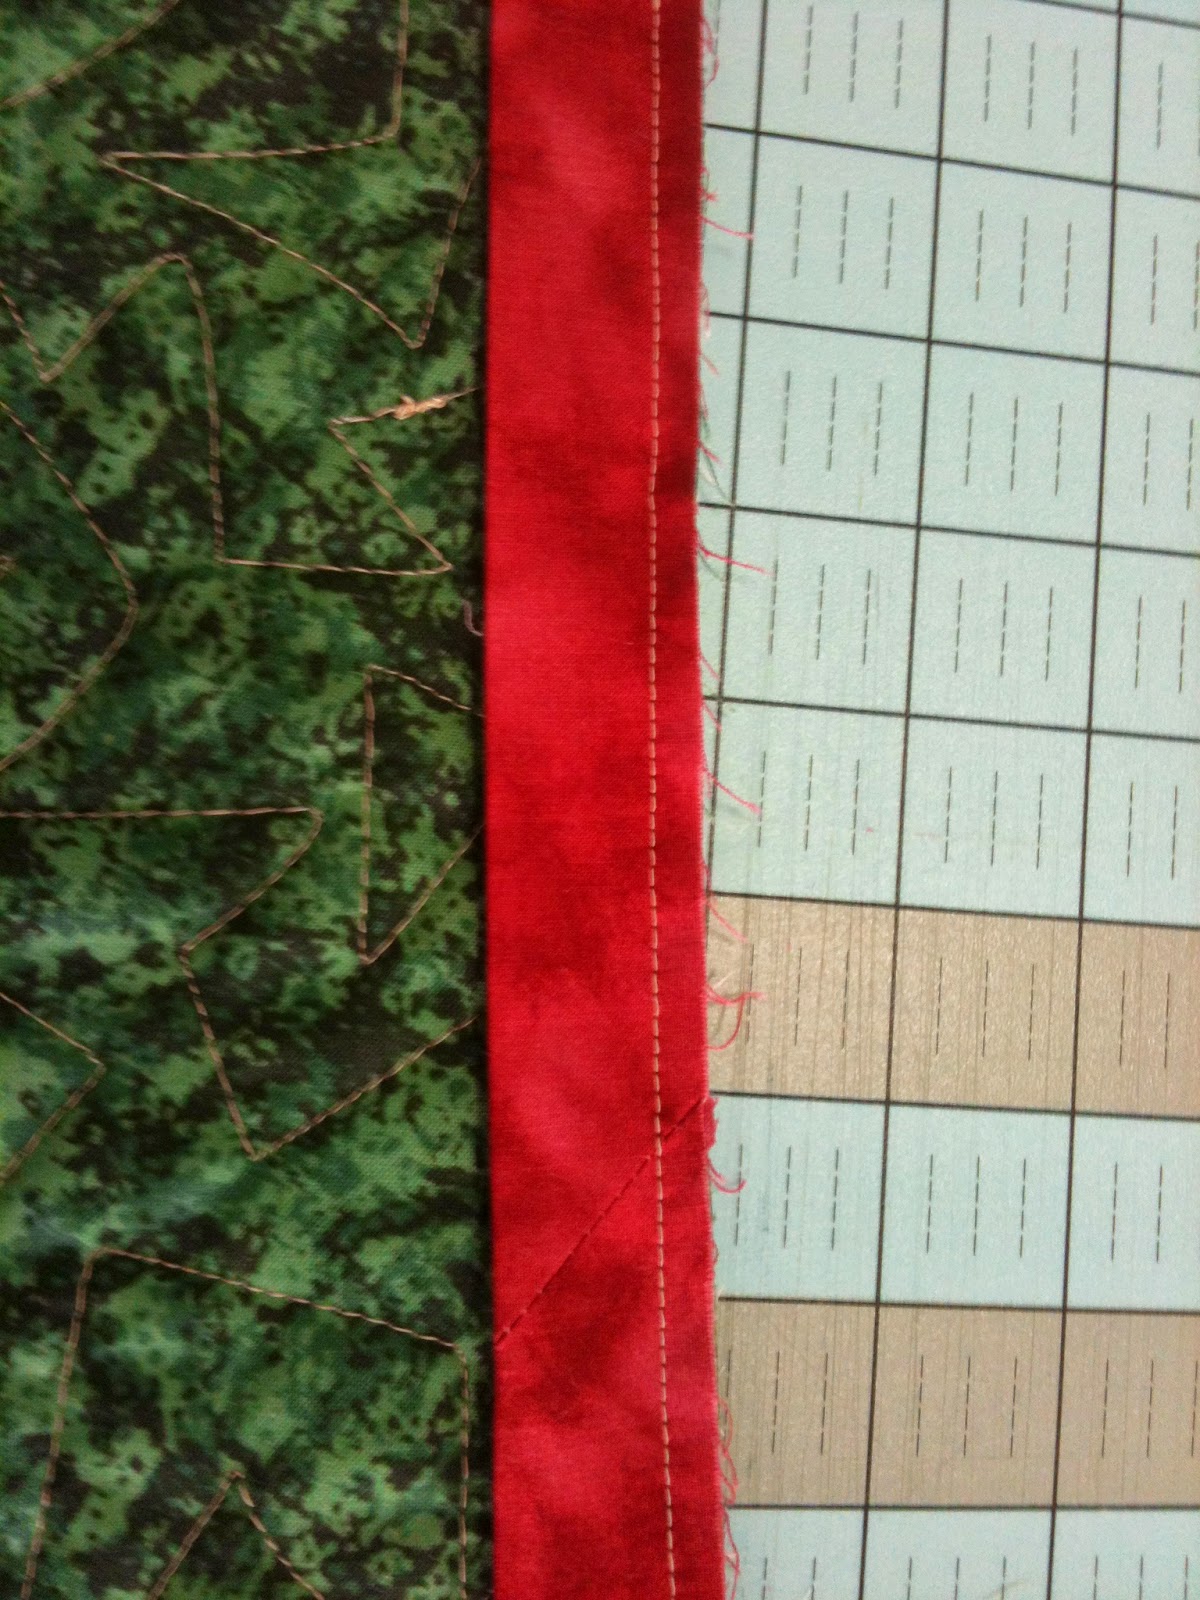
Then I went to my sewing machine and put my zipper foot on. I was able to rest my zipper foot right up next to the binding fabric and still have a tiny hole where I could sew into the piping fabric. Amazingly, using this process, I could sew at a relatively decent speed and the stitching line still appeared to be pretty straight.
I used a thread that didn't really blend that well, but then again, I don't have that many colors of thread. But even so, I still didn't mind it because it was straight.
It was fast. The stitching was straight. And it's a cool look to give that extra touch to a quilt.